
What You'll Create
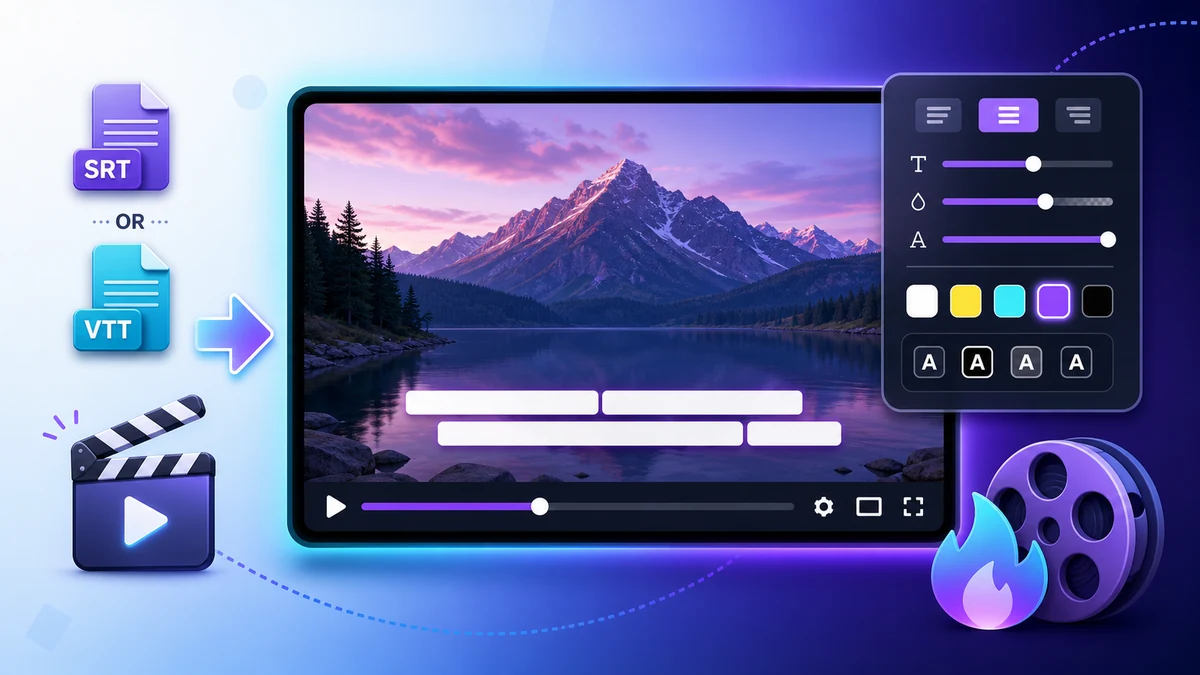
In this guide, you will use VMAI Subtitle Burner to create a video file with SRT/VTT subtitles burned into the picture.
By the end, you will be able to:
- upload an MP4, MOV, MKV, WebM, or AVI video;
- upload an SRT/VTT file or generate subtitles in the AI tab;
- review subtitle text and start/end timing;
- compare Default, Fade, Karaoke, Word Pop-Up, Background Box, Typewriter, and premium animation styles;
- check placement, font size, highlight color, and estimated Credits;
- render and download the final video.
Before You Start
What you need
- The video file you want to caption.
- An almost-final SRT/VTT subtitle file. If you do not have one yet, start with Generate and Edit SRT/VTT Subtitles.
- A candidate caption style. If you want to compare styles first, use Preview and Reuse Caption Styles with Subtitle Style Editor.
- A VMAI account and enough Credits for rendering.
When should you use this tool?
| Situation | Why it helps |
|---|---|
| You need captions to always appear in a social video | Viewers do not need to enable captions manually. |
| You want one simple final share file | You can send one rendered video file. |
| You need to apply a specific caption style | Placement, font size, and highlight color become part of the render. |
| You keep subtitle files separately but publish burned-in captions | You can preserve the source SRT/VTT and distribute a ready-to-watch version. |
Step 1: Open Subtitle Burner
Open VMAI Subtitle Burner.
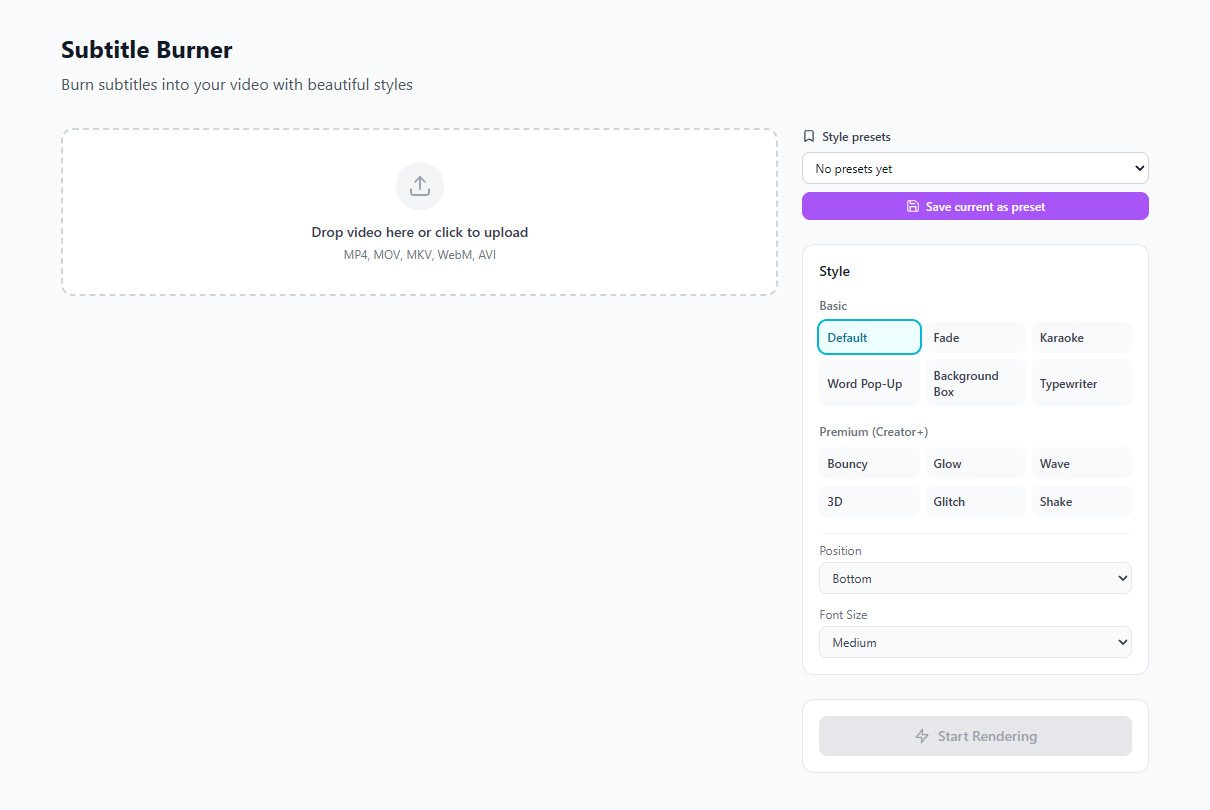
Subtitle Burner screen: prepare the video and subtitles on the left, then choose style, check estimated Credits, and render on the right.
Start with three areas.
| Area | What it does |
|---|---|
| Video upload | Select the source video that will receive subtitles. |
| Style presets and style panel | Choose caption style, position, font size, and highlight color. |
| Render button | Starts rendering once video and subtitles are ready, with Credit information shown first. |
If no video is uploaded yet, the subtitle input and preview areas are hidden. Upload the video first.
Step 2: Upload a video
Click the upload area or drag a file into it. The current UI accepts MP4, MOV, MKV, WebM, and AVI. After upload, the card shows the file name, file size, and—when available—duration and resolution.
Before uploading, check:
- Will captions cover important UI, faces, or product details?
- Is the video length within the limits for your plan and chosen style?
- Can you test a short sample before rendering the full video?
- Can you record the source video name and final subtitle file name together?
Step 3: Add subtitles
After the video is ready, choose one of two subtitle input methods.
Option A: Upload an SRT/VTT file
If you already have a subtitle file, use the Upload File tab to upload .srt or .vtt. VMAI parses it into subtitle entries so you can review text and timing.
This is best when:
- the subtitle file has already been reviewed;
- you are burning translated SRT/VTT captions into a video;
- you created captions in another editor and want to use them as-is.
Option B: Generate subtitles in the AI tab
If you do not have a subtitle file, use the AI Generate tab to transcribe the video's speech. This flow uses the VMAI Subtitle Generator API and lets you review model, language, VAD, and AI refinement settings.
AI generation can charge subtitle generation Credits separately from burn-in Credits, so read the on-screen Credit note. If you plan to use word-by-word animation, AI-generated subtitles with word timing can look more natural.
Step 4: Review text and timing in the subtitle list
Once subtitles are loaded, the subtitle list lets you review each entry's start time, end time, and text. You can also add or delete entries.
Check:
- Does each start time match the spoken line?
- Does each end time avoid the next line or scene cut?
- Are names, numbers, URLs, brand terms, and product labels correct?
- Are any lines so long that they cover the frame?
- If this is a translation, does the tone still match the original?
After burn-in, even a one-word change may require a new video file. Finish as much text and timing review as possible here.
Step 5: Choose a style
Use the style panel on the right to choose a caption style. The current style flow includes:
| Group | Styles | Good for |
|---|---|---|
| Basic | Default, Fade, Karaoke, Word Pop-Up, Background Box, Typewriter | Tutorials, lessons, explainers, light emphasis |
| Premium | Bouncy, Glow, Wave, 3D, Glitch, Shake | Short-form hooks, brand clips, brief emphasis moments |
Some styles may be locked depending on the user's plan. VMAI shows lock states for unavailable styles and re-checks plan limits on the server before rendering. For normal users without an operator bypass, use the lock state and plan guidance shown in the UI.
Word-by-word animation styles work best with word timing. If you only uploaded SRT/VTT, VMAI may warn that the selected style works best with AI-generated subtitles that include word timing.
Step 6: Adjust placement, font size, and highlight color
After choosing a style, review three settings.
Position
Choose Bottom, Center, or Top. Bottom is familiar, but it can cover buttons or timelines in screen recordings and product demos.
Font size
Choose Small, Medium, or Large. Medium or Large can be safer for mobile viewing, but large captions can cover product screens when lines are long.
Highlight color
For styles such as Karaoke, Background Box, and Word Pop-Up, check that the highlight color stays readable on both bright and dark frames.
Step 7: Preview on the real video frame
When both video and subtitles are ready, use the preview area to check the captions on top of the actual video. Browser preview may not be a perfect final render, but it is useful for spotting placement and readability issues.
Look for:
- the brightest background;
- close-ups of faces;
- lower UI in screen recordings;
- the longest subtitle line;
- moments immediately before and after a cut.
If something feels wrong, adjust timing, line length, placement, or font size before rendering.
Step 8: Check estimated Credits and render
The render panel estimates Credits based on video duration and selected style. In the current VMAI code, ASS-based styles cost 1 Credit per started minute, while Remotion-based animation styles add a surcharge and are estimated at 2 Credits per minute. A minimum of 1 Credit applies.
Before rendering, confirm:
- available Credits are enough for the estimate;
- the selected style is allowed on your plan;
- long videos have been tested with a short sample;
- the subtitle file is saved separately.
When ready, click Start Rendering. Progress is shown while the job runs. When rendering completes, download the result file.
Checklist
Before burning subtitles into the video, confirm:
- The source SRT/VTT file is saved separately.
- The video and subtitle file are the correct final versions.
- Subtitle start/end times match the speech.
- Captions do not cover faces, buttons, prices, CTAs, or product screens.
- Text and boxes stay readable on bright scenes.
- Word-by-word animation was tested with word-timed subtitles.
- Estimated Credits and available Credits were checked.
- A short sample was tested before a long video.
Troubleshooting
The render button is disabled
Check that both a video and subtitles are loaded. Rendering can also be blocked when available Credits are below the estimate, or when the selected style is not allowed on the current plan.
Animation looks awkward with an uploaded SRT/VTT file
SRT/VTT files usually contain line-level timing, not word-level timing. Styles such as Karaoke and Word Pop-Up can look more natural with AI-generated subtitles that include word timing.
Captions cover important parts of the video
Try Top or Center placement, reduce font size, or split long lines. For screen recordings, pay special attention to lower toolbars and buttons.
The Credit estimate is higher than expected
Check both video length and style. Remotion-based animation styles can require more Credits than basic styles. For long videos, test a short sample before rendering the full file.
Next step
After creating the burned-in caption video, keep the source subtitle file with the project. Choose the next workflow based on your goal.
| Next task | Tool or guide |
|---|---|
| Create subtitles first | AI Subtitle Generator & Editor |
| Translate subtitles | Subtitle Translator |
| Define a reusable caption style | Subtitle Style Editor |
| Review the strategy before rendering | Before You Burn Subtitles Into a Video: 7 Checks That Prevent Re-renders |
Tutorial Complete!
You've read this tutorial. Move on to the next step.
Found this tutorial helpful?
Subscribe to get notified when we publish new tutorials and guides. No spam, unsubscribe anytime.
Comments
Please login to leave a comment
LoginNo comments yet. Be the first to comment!