
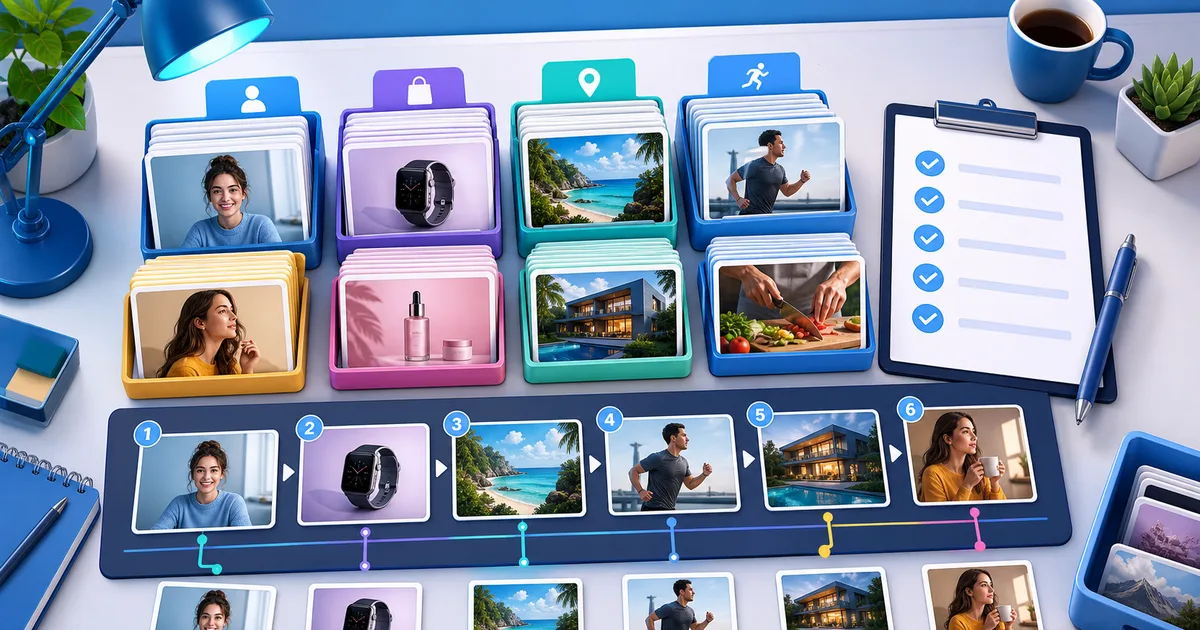
What you will prepare
This is not a button-by-button UI walkthrough. It is a practical checklist for preparing your image pack before you upload your own media to VMAI.
By the end, you will have:
- a list of scenes AI can fill versus scenes you should anchor with your own images;
- a simple way to choose between 1 image → 1 segment and 1 image → multiple segments;
- an upload-readiness check for image quality, text readability, and sensitive information;
- a review checklist for checking AI assignments after the draft is created.
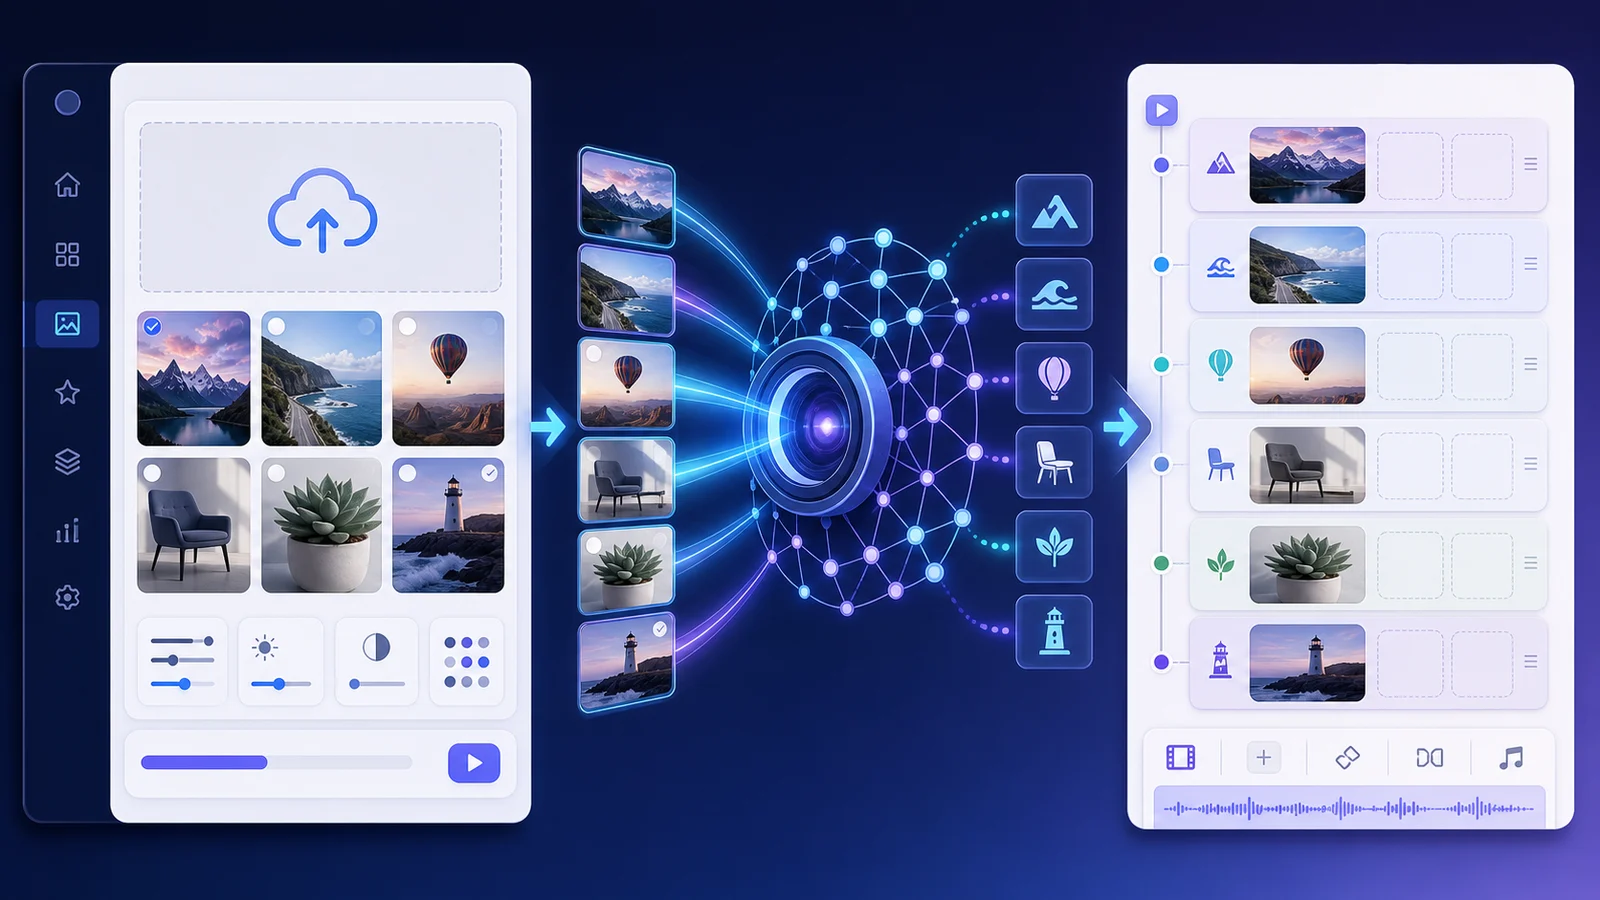
VMAI can assign your uploaded images to matching video segments, but the result is easier to review when every image has a clear job before upload.
Before you start
What you need
- JPG, PNG, or WebP images you want to use in the video;
- a script or subtitle draft for the video;
- a few minutes to check every image for sensitive information;
- a VMAI account and enough Credits for the workflow you plan to run.
Step 1: Choose the scenes AI should not guess
Read through the video script and mark the scenes where a wrong image would hurt trust. You do not need to control every scene. Add a scene to your source pack if any of these are true:
- the scene needs a real product, place, person, or event photo;
- a generic stock image would make the message feel less credible;
- a chart, slide, or screenshot is part of the explanation;
- one image should support several related narration segments;
- brand, legal, or customer context makes random imagery risky.
If the list gets long, start with three to five images. A small pack is easier to review than a folder full of near-duplicates.
Step 2: Give each image a role
Treating every image the same makes matching harder to review. Sort your images into three roles.
| Role | Use it when | Example |
|---|---|---|
| Exact scene | It should appear for one specific sentence or segment | Event opening photo, product close-up |
| Topic anchor | Several segments explain the same subject | Service flow diagram, lesson chapter slide |
| Support candidate | It only needs to fit the mood or context | Office background, abstract visual |
Exact scenes usually behave like 1 image → 1 segment. Topic anchors are closer to 1 image → multiple segments.
Step 3: Clean up the images themselves
Before upload, review each image quickly.
Keep one message per image
If one image mixes multiple products, places, or messages, it becomes harder to place confidently. Keep each image focused on one topic.
Crop around the subject
Images may appear full-screen or as part of a visual card. If the subject is tiny or surrounded by empty space, the video will feel weaker. Crop so the main object or person is easy to see.
Check slide text on a small screen
Charts, slides, and checklist images should still make sense when viewed on a phone. If the image contains too much small text, let the narration or captions carry the detail instead.
Remove private details
For screenshots, watch for browser address bars, login names, email addresses, order numbers, and internal menus. If you are unsure, replace the screenshot with a safer image.
Step 4: Make a short matching note
Before upload, create a small note like this. It does not need to be formal.
| File | Role | Preferred section | Review note |
|---|---|---|---|
| product-closeup.webp | Exact scene | First product intro sentence | Do not repeat too long |
| workshop-room.jpg | Topic anchor | Offline training section | Check visible faces |
| process-slide.png | Topic anchor | Three-step process section | Support small text with narration |
| closing-cta.png | Exact scene | Final CTA | Check contact details |
This is not a configuration file for VMAI. It is a human review aid so you remember why each image was included.
Step 5: Review automatic assignment after upload
When your pack is ready, add the images in the Your Images area while creating a new VMAI video. VMAI will use AI to assign uploaded images to matching segments. After the draft reaches review, check:
- whether the most important images landed near the intended segments;
- whether one image is held on screen for too long;
- whether the visual and subtitle are talking about the same topic;
- whether captions make text-heavy images hard to read;
- whether uncertain matches should be replaced manually.
Automatic assignment saves setup time. Review is where the final quality is decided.
Checklist
Before upload, confirm that:
- every file is JPG, PNG, or WebP;
- each image has one clear topic;
- no sensitive information is visible;
- text-heavy images are still readable at small size;
- you separated 1:1 images from 1:many topic anchors;
- you made a simple note for review.
Next step
- For the strategy behind this workflow, read When You Should Stop Letting AI Guess Your Video Visuals.
- If you are new to VMAI, start with Getting Started with VMAI.
- When your image pack is ready, open /new and create your next video.
Tutorial Complete!
You've read this tutorial. Move on to the next step.
Found this tutorial helpful?
Subscribe to get notified when we publish new tutorials and guides. No spam, unsubscribe anytime.
Comments
Please login to leave a comment
LoginNo comments yet. Be the first to comment!