
What you will prepare
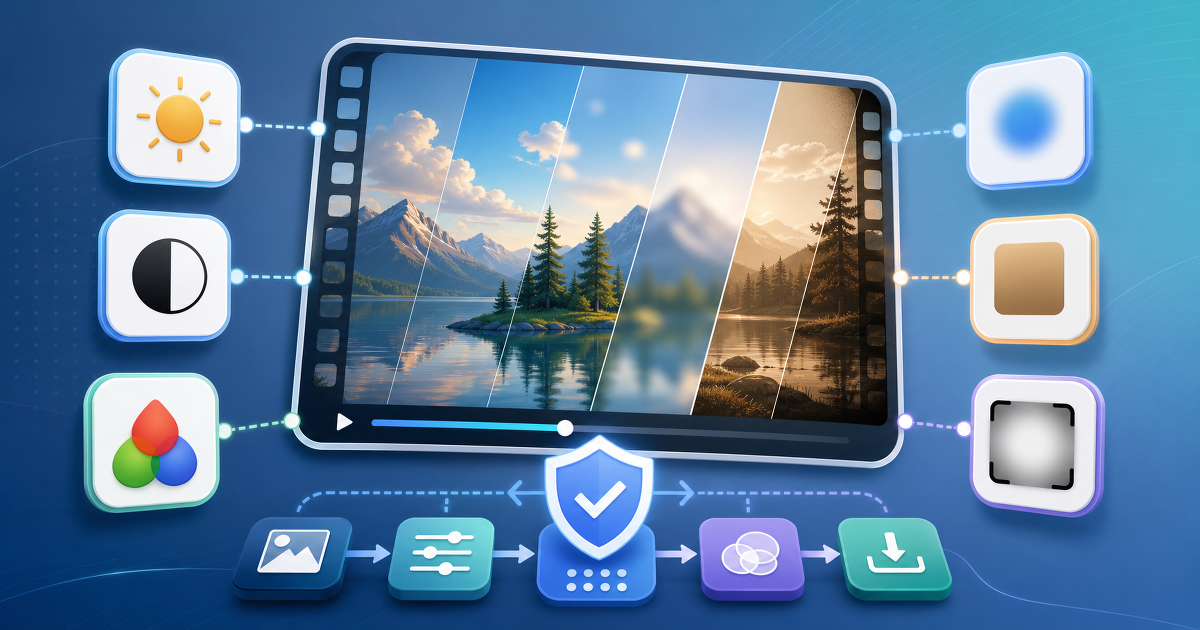
This guide helps you decide whether an existing AI video draft can be improved with a filter stack before you regenerate the whole video. The goal is not to add as many effects as possible. The goal is to name the visual problem, stack small adjustments, and render only when the preview shows a real improvement.
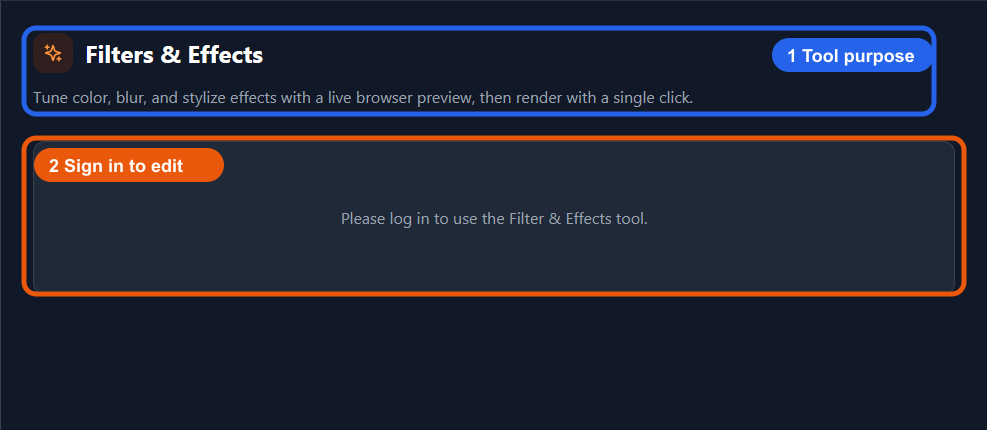
This is the real VMAI Filter Effects entry screen. After signing in, you can upload a video, tune the filter stack, and render the result.
Before you start
You need:
- a VMAI account and an active sign-in session;
- a test video file: MP4, MOV, MKV, or WebM;
- a short copy or test segment without sensitive information;
- enough Credits for the render;
- a current desktop browser with WebGL 2 support for preview.
The tool UI lists a 200MB upload limit. If the final video is long, test the look on a short segment first, then apply the same direction to the full video only after the stack makes sense.
Step 1: Define the visual problem in one sentence
Before adding any effect, write down what you are trying to fix.
Useful examples:
- “The whole video is too dark, so the product is hard to see.”
- “The first scene is warm, but the next scene feels cold and disconnected.”
- “The background is too sharp, so the captions and subject do not stand out.”
“Make it look better” is not specific enough. When the target is vague, you keep adding effects without knowing whether the video is improving.
Step 2: Open Filter Effects
Open VMAI Filter Effects. If you are not signed in, the page shows a login notice. After sign-in, the workflow is: upload a video, preview adjustments in the browser, build the effect stack, then render only when the stack is worth applying.
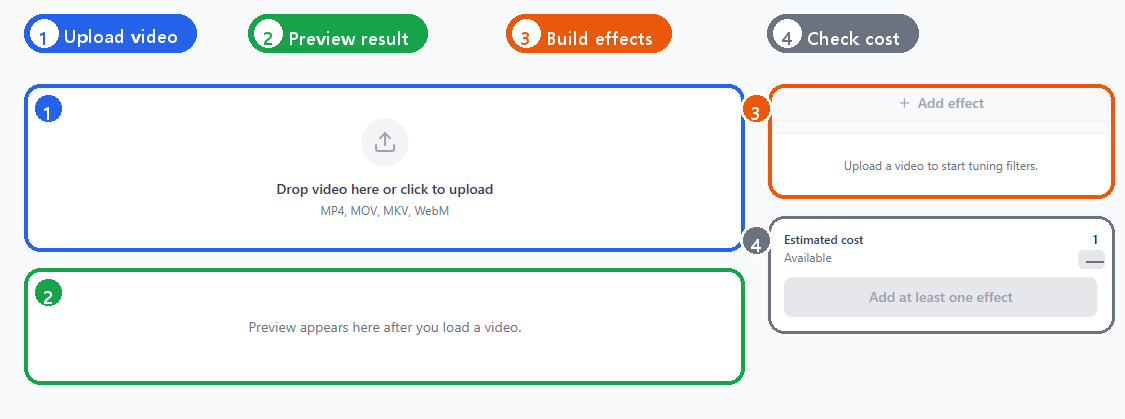
After sign-in, the editor brings video upload, preview, effect stack, and cost-check areas into one workspace.
Step 3: Test with a short video segment first
Do not start with the full final file if you are still deciding the look. Prepare a 10–20 second segment where the visual problem is easy to see. This makes preview faster and makes each adjustment easier to judge.
After upload, the tool prepares video information and a preview frame. Treat the browser preview as a fast direction check. The final quality check should still happen on the rendered file.
Step 4: Stack effects in a safe order
This order reduces the chance of over-processing:
- Brightness: make sure the subject is visible.
- Contrast: add separation if the image feels flat.
- Saturation: align mood across scenes instead of making every color louder.
- Blur: soften a distracting background only when needed.
- Sepia: use it for warmth, memory, or retro tone when that is the actual goal.
- Vignette: use it lightly to guide attention toward the center.
The VMAI filter panel supports adding effects, turning them on and off, changing order, removing effects, and resetting the stack. Each time you change the stack, ask whether the effect solves the problem you named in Step 1.
Step 5: In preview, be suspicious of “more”
A preview can look exciting at first, then become heavy once too many effects are stacked. Sepia and vignette are especially easy to overuse. Toggle effects off one by one and remove anything that does not clearly help.
Ask three questions:
- Does the video look more natural when this effect is off?
- Are captions, products, faces, or the main subject easier to read?
- Does the tone still connect with the scenes before and after it?
Step 6: Check Credits and render criteria
Before rendering, review the estimated cost and available Credits. VMAI Filter Effects rendering is calculated from video length; in the current code, it is 1 Credit per started minute, with a 1 Credit minimum. If you do not have enough Credits, the render button cannot start the job.
Render only when:
- you can describe the problem in one sentence;
- the preview clearly improves when the stack is on;
- unused effects have been removed;
- the export settings still match the final destination.
If the destination settings are still unclear, read Plan AI Video Render Settings Before Export first.
Example filter stacks
| Situation | First adjustment to try | Watch out for |
|---|---|---|
| The image is too dark | Raise brightness slightly, then add a little contrast | Do not start with saturation |
| Scenes do not match | Align saturation and contrast lightly | Do not judge from one scene only |
| The background distracts | Use mild blur or mild vignette | Do not blur captions or the subject |
| You need a warm memory tone | Use mild sepia with restrained saturation | Do not apply it to the whole video by default |
Next step
If a filter stack is hiding a structural problem, fix the scene choice or render settings instead. If the only remaining issue is visual tone, Filter Effects can be a fast finishing pass.
For the broader decision framework, read Before You Re-render: Fix the Look of an AI Video with a Filter Stack.
Tutorial Complete!
You've read this tutorial. Move on to the next step.
Write Motion Clip Prompts That Produce Editable Layers
Plan a Mask & Crop Pass for a Video
Found this tutorial helpful?
Subscribe to get notified when we publish new tutorials and guides. No spam, unsubscribe anytime.
Comments
Please login to leave a comment
LoginNo comments yet. Be the first to comment!