
Last-minute blur is usually too late
The sensitive detail in a video often appears near the end of the edit: an email address in a screen recording, a person's name in a notification, a license plate in the background, or a bystander who was never part of the story. If you notice it only after the full draft is ready, the temptation is to blur quickly and move on.
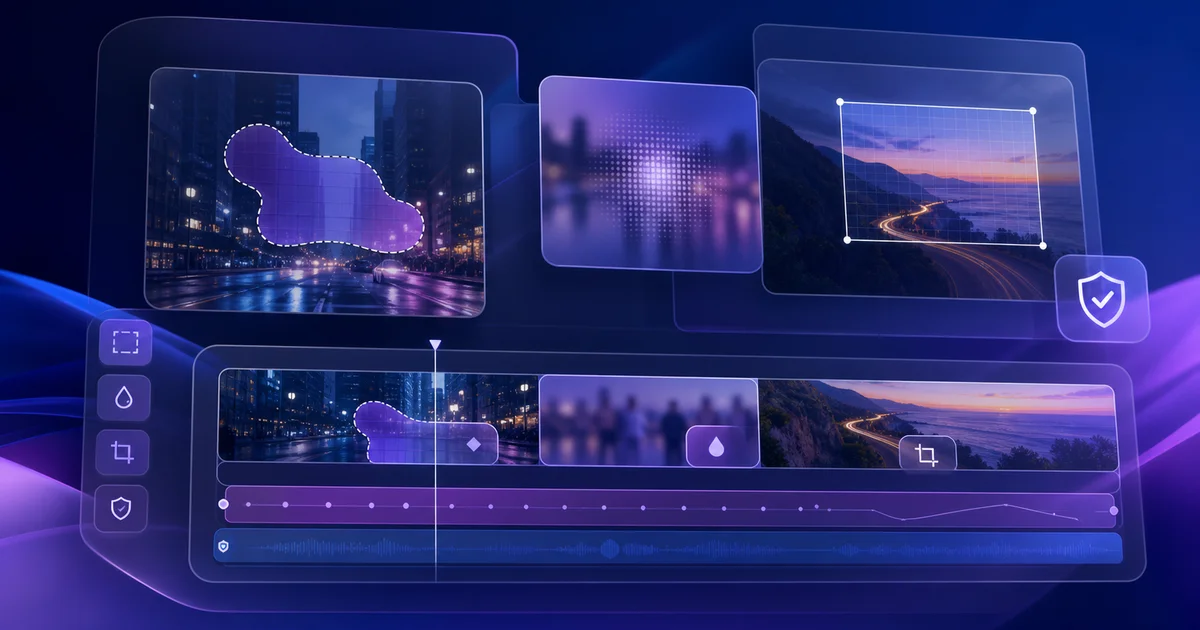
That is where rework starts. Without a clear plan, blur gets applied too widely, important information becomes unreadable, and you end up rendering the same clip again. Treat video blur and crop as a pre-publish privacy pass, not just a visual effect. With VMAI's Mask & Crop tool, the useful decisions are simple: what stays visible, what gets hidden, whether the outside should be blurred or cropped, how soft the mask edge should be, and whether the mask should be inverted.
1. Separate what must stay from what must disappear
Before you touch a blur slider, split the frame into two lists:
- must stay visible: the product, hand movement, subtitles, key UI, or main subject
- should disappear or lose detail: names, emails, alerts, background people, private screens, or distracting clutter
This prevents two common mistakes: hiding the thing the viewer needs, or leaving a sensitive detail at the edge of the frame. For tutorials, the difference matters. A button label or menu path may need to stay readable, while a nearby account name should not.
2. Use blur and crop for different jobs
Blur keeps the original composition while making detail harder to read. It works well for background people, partial documents, or screen notifications where the context can remain but the exact content should not.
Crop is a stronger choice. It removes or blacks out the area outside the mask, so the viewer's attention is forced onto the remaining region. That is useful when you want to remove browser chrome, clean up the edge of a screen recording, or reframe a clip for a different format. It is less subtle, but it can be clearer.
3. Pick the shape based on the target, not the aesthetic
VMAI's Mask & Crop flow is built around shape masks such as rectangles, ellipses, and polygons. A rectangle is fast for screen recordings, cards, documents, and UI panels. An ellipse feels more natural around a face, product, or central object. A polygon helps when the target does not fit a clean box.
The best shape is not always the most stylish one. It is the shape that hides the least extra information while still protecting the area that matters.
4. Use feathering to soften the edge, not to weaken the protection
A hard mask edge can make the edit look abrupt. A little feathering softens the boundary and helps the masked area blend into the frame. Too much feathering, though, can reveal the edge of the thing you meant to hide.
For text, keep feathering modest and protect the content with mask size or blur strength. For background people or visual clutter, a slightly softer edge may look more natural.
5. Inversion changes the editing question
Mask inversion flips the relationship between the shape and the rest of the frame. Instead of asking “what should stay sharp?” you can ask “what exact area should be hidden?”
If the whole screen should remain visible except for a small notification, drawing a small mask and inverting it may be less error-prone. If the product should stay clear while the background is softened, draw the mask around the product and leave inversion off. The same shape can solve opposite problems depending on that choice.
6. Reduce the review loop before you render
Tools like Mask & Crop show an estimated cost and available Credits before rendering. The bigger saving, however, comes from reducing the number of times you need to render the same edit.
Use this order:
- Write down every detail that cannot appear publicly.
- Decide whether each one needs blur or crop.
- Start with the simplest possible mask shape.
- Add feathering only after the protected area is clearly hidden.
- Compare inversion on and off if the target is small.
- Before the final render, confirm that subtitles, UI labels, product details, and brand elements are still readable.
A privacy pass is not just a cleanup task. It is a way to ship video drafts with fewer surprises, fewer re-renders, and clearer viewer attention.
Enjoyed this article?
Subscribe to get notified when we publish new posts. No spam, unsubscribe anytime.
Related Articles
Your AI Video Isn't Too Long. Its Scenes Are Repeating Themselves
If trimming seconds does not fix a slow AI video, look for repeated explanations, visuals, and emotional beats. Give every scene one distinct job before cutting useful detail.
The Video Ending Mistake That Wastes a Good AI Video
A polished AI video can still end without giving viewers a clear next step. Design the video ending around one outcome, one call to action, and one trust cue before you render.
Why AI Videos Look Like Random Stock Footage
Even relevant visuals can feel random when color, framing, subjects, and motion change without a rule. Use a simple video style guide to make an AI video feel like one story before rendering.
Comments
Please login to leave a comment
LoginNo comments yet. Be the first to comment!